Porxmox Cluter Setup
Prerequest
- 2+ Installed already Proxmox nodes
- 2+ network links for separate purposes
Create a new Cluster from master node
Proxmox clustering capability is managed by the Proxmox Cluster Manager, or pvecm, which coordinates resources and high availability.
1
2
3
4
5
6
7
8
9
10
11
12
13
14
15
16
17
18
19
20
21
22
23
# pvecm --help
USAGE: pvecm <COMMAND> [ARGS] [OPTIONS]

       pvecm qdevice remove
       pvecm qdevice setup <address> [OPTIONS]

       pvecm addnode <node> [OPTIONS]
       pvecm apiver
       pvecm create <clustername> [OPTIONS]
       pvecm delnode <node>

       pvecm add <hostname> [OPTIONS]
       pvecm expected <expected>
       pvecm keygen <filename>
       pvecm mtunnel [<extra-args>] [OPTIONS]
       pvecm nodes
       pvecm status
       pvecm updatecerts  [OPTIONS]

       pvecm help [<extra-args>] [OPTIONS

# pvecm status
Error: Corosync config '/etc/pve/corosync.conf' does not exist - is this node part of a cluster?
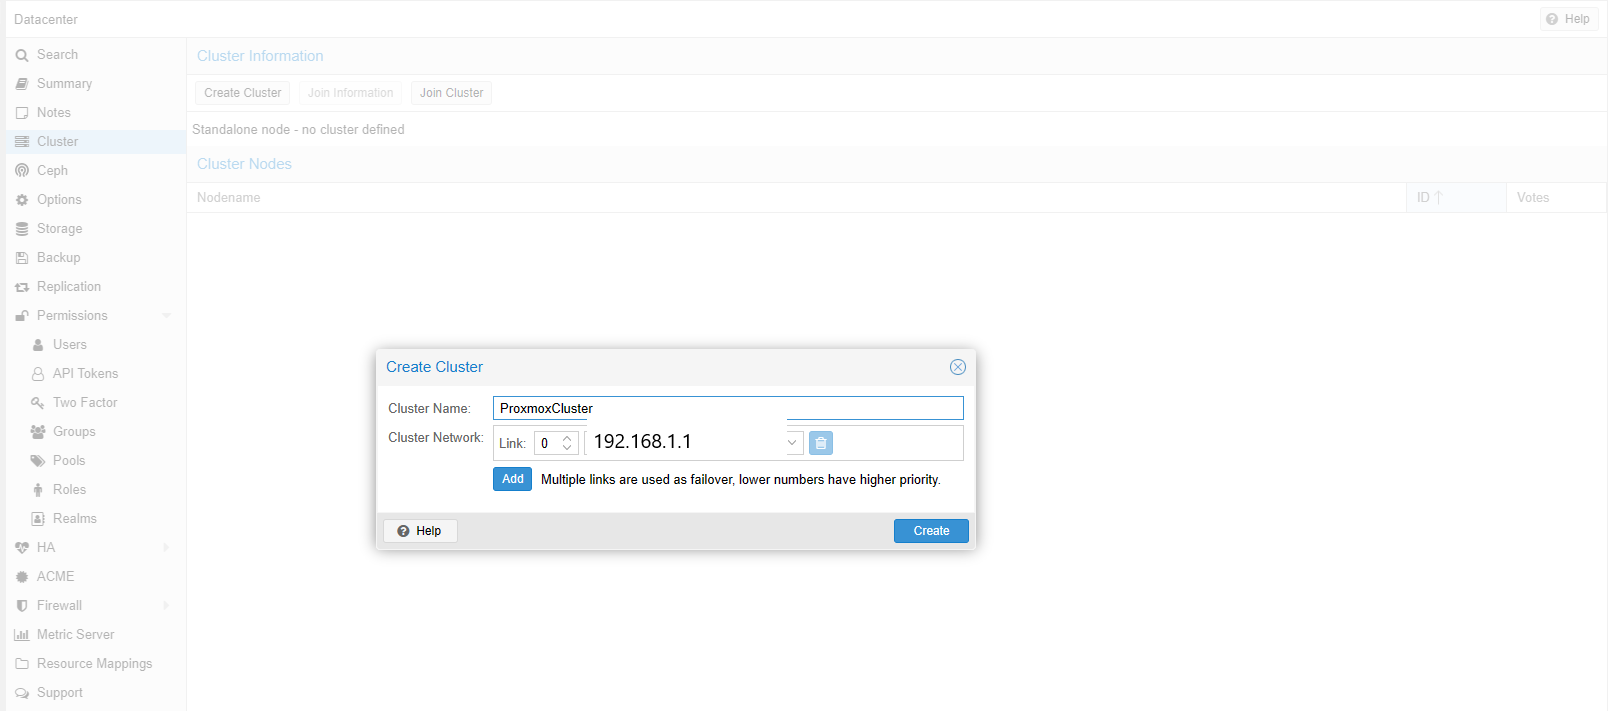
Currently, as the cluster has not been created, there is no existing Corosync configuration. To establish the cluster, Proxmox offers two approaches: one through the Web GUI and the other via the command line, as demonstrated above. Let’s proceed with the GUI method.
What worth mentioning is that if creating a cluster with default parameters, the corosync cluster network is shared with the web interface and the VMs’ network. This setup may result in significant network traffic being transmitted. As the matter of fact, it’s recommended to separate corosync cluster network from default setting, because corosync is a time-critical, real-time application.
Slave join Cluster
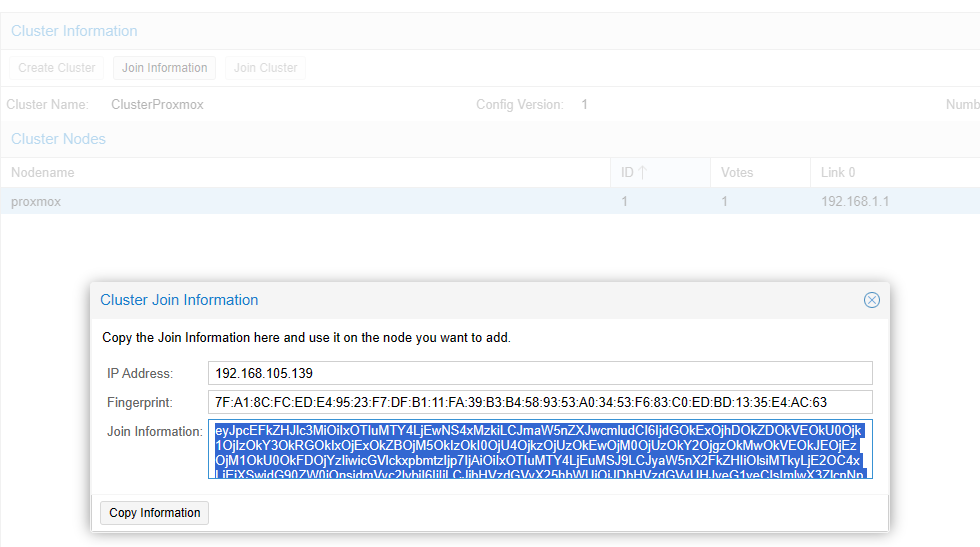
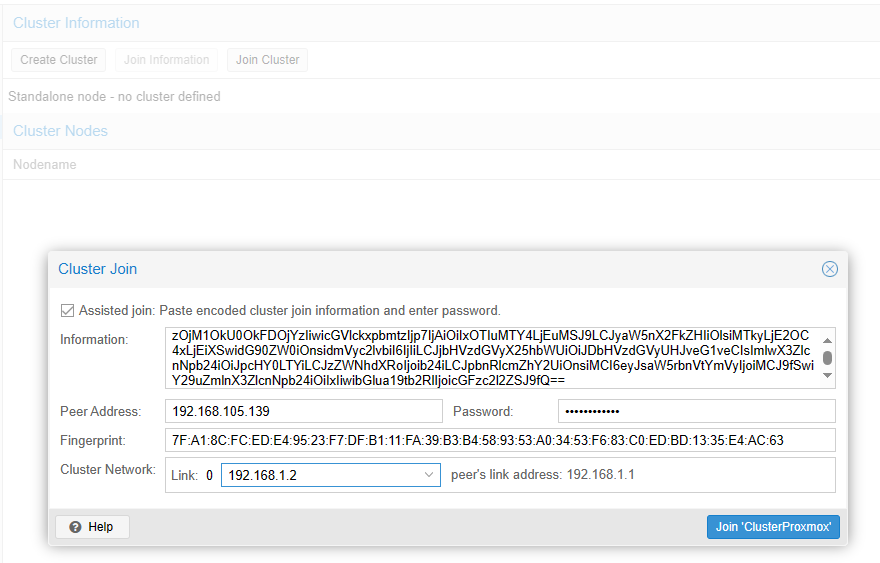
As long as cluster been created, the joining information is provided. Copy the content and paste it to the new cluster member.
Click the button join cluster, the Cluster Manager will initiate communication and synchronization process. Futher detail will be discussed in About Quarum section.
Now you can see these nodes appearing on same datacenter dashboard! How wonderful.
Using pvecm to show cluster status.
1
2
3
4
5
6
7
8
9
10
11
12
13
14
15
16
17
18
19
20
21
22
23
24
25
26
27
28
29
30
root@proxmox:~# pvecm status
Cluster information
-------------------
Name:             ClusterProxmox
Config Version:   2
Transport:        knet
Secure auth:      on

Quorum information
------------------
Date:             Wed Feb  7 09:56:16 2024
Quorum provider:  corosync_votequorum
Nodes:            2
Node ID:          0x00000001
Ring ID:          1.9
Quorate:          Yes

Votequorum information
----------------------
Expected votes:   2
Highest expected: 2
Total votes:      2
Quorum:           2
Flags:            Quorate

Membership information
----------------------
    Nodeid      Votes Name
0x00000001          1 192.168.1.1 (local)
0x00000002          1 192.168.1.2
About Quorum
Similar to other cluster mechanisms, Proxmox utilizes a voting system to detect and prevent abnormal transactions between nodes, ensuring synchronization in a distributed system. This mechanism is known as Quorum. And the configuration can be found in the /etc/pve/corosync.conf.
In our case, we have our cluster formed in two units, thus you can see there are two node, host proxmox and host proxmox2. And for quorum, we use corosync_votequorum, which is similar to Linux Corosync Cluter Engine, or we can just say it’s a implementaion of Linux Corosync.
1
2
3
4
5
6
7
8
9
10
11
12
13
14
15
16
17
18
19
20
21
22
23
24
25
26
27
28
29
30
31
32
33
34
35
36
# cat /etc/pve/corosync.conf
logging {
  debug: off
  to_syslog: yes
}

nodelist {
  node {
    name: proxmox
    nodeid: 1
    quorum_votes: 1
    ring0_addr: 192.168.1.1
  }
  node {
    name: proxmox2
    nodeid: 2
    quorum_votes: 1
    ring0_addr: 192.168.1.2
  }
}

quorum {
  provider: corosync_votequorum
}

totem {
  cluster_name: ClusterProxmox
  config_version: 2
  interface {
    linknumber: 0
  }
  ip_version: ipv4-6
  link_mode: passive
  secauth: on
  version: 2
}
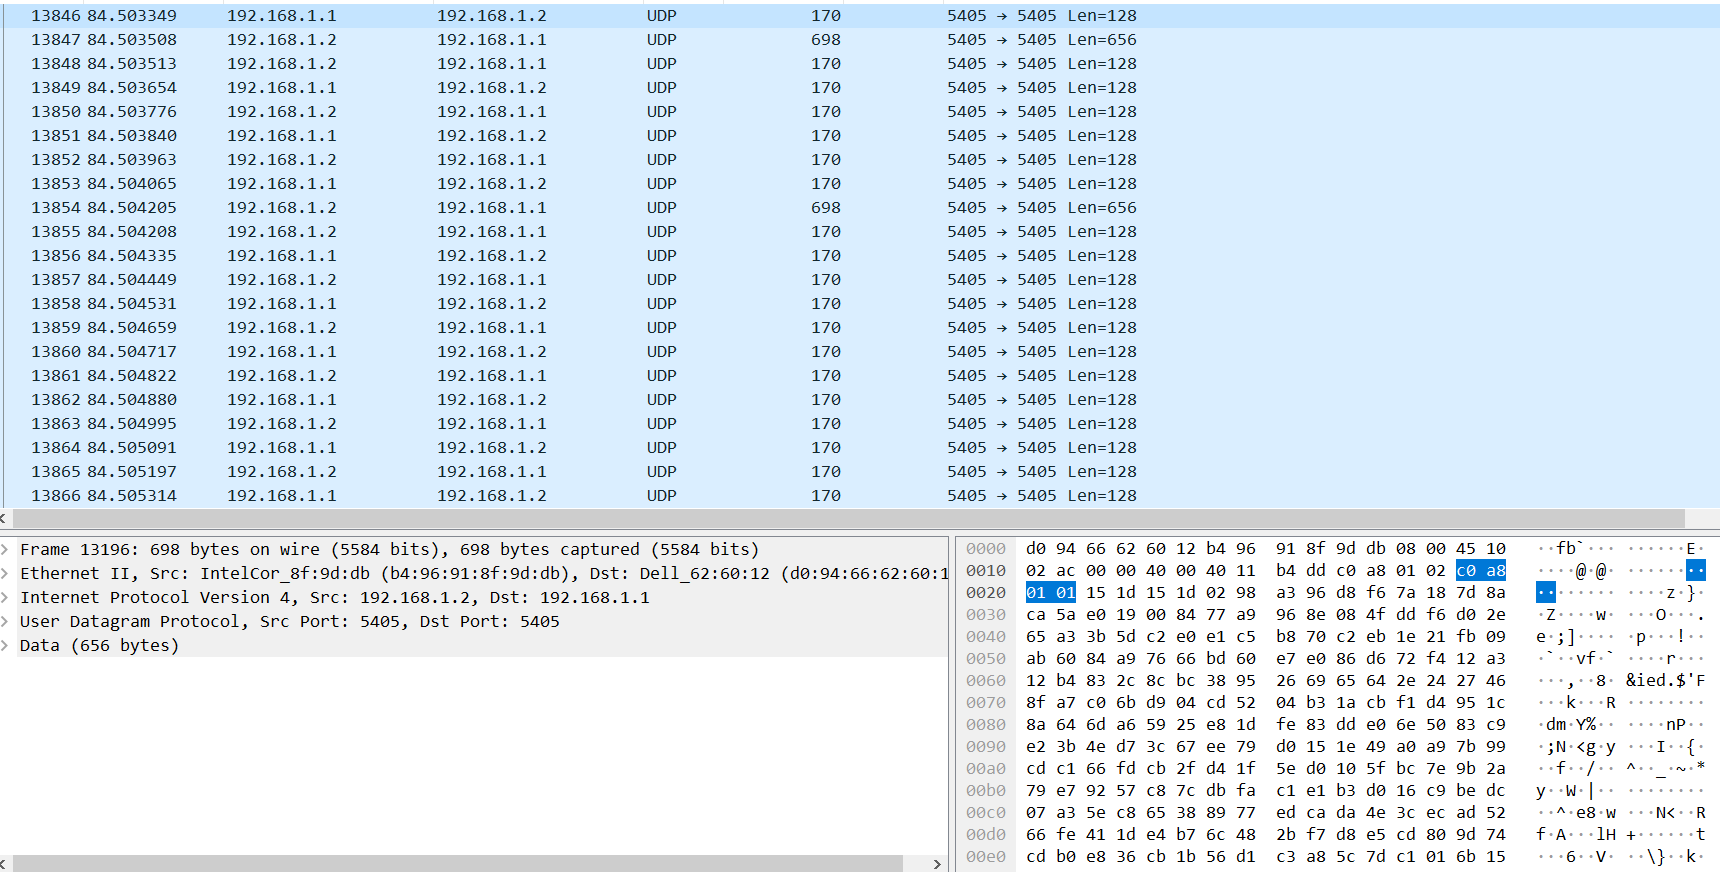
The nodes communicate and share information using port 5405 over UDP. It is advisable to use a separate cluster network from the main management network because UDP does not re-transmit data, which could include time-critical, real-time information.
HA and Migration
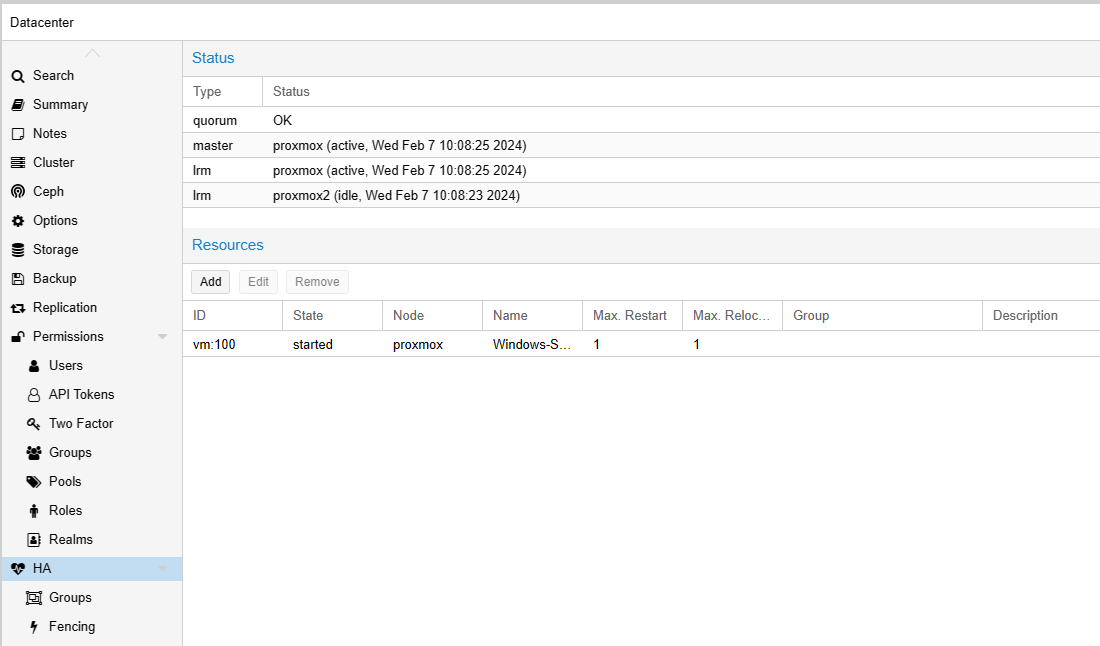
Apart from Cluster Manager, there is a agent called HA Manager, which is responsible for error detection and failover automatically. To test High-Availibility, officical guide said that we can simply turn off the VM on the original node, and then it will be automatically migrated to another node. However, we are not going to do that, at least not for presence.
There are two component in HA architecture, local resource manager (LRM) and cluster resource manager (CRM). The LRM continuously monitors resource status and reports it to the CRM, which uses this information to make decisions about resource allocation and failover.
1
2
3
4
5
6
# ha-manager status
quorum OK
master proxmox (active, Wed Feb  7 13:30:06 2024)
lrm proxmox (idle, Wed Feb  7 13:30:13 2024)
lrm proxmox2 (active, Wed Feb  7 13:30:09 2024)
service vm:100 (proxmox2, started)
Instead of failover operation, I certainly want to try out the migration feature that can be helpful when it comes to network maintainance or routined upgrade operation.
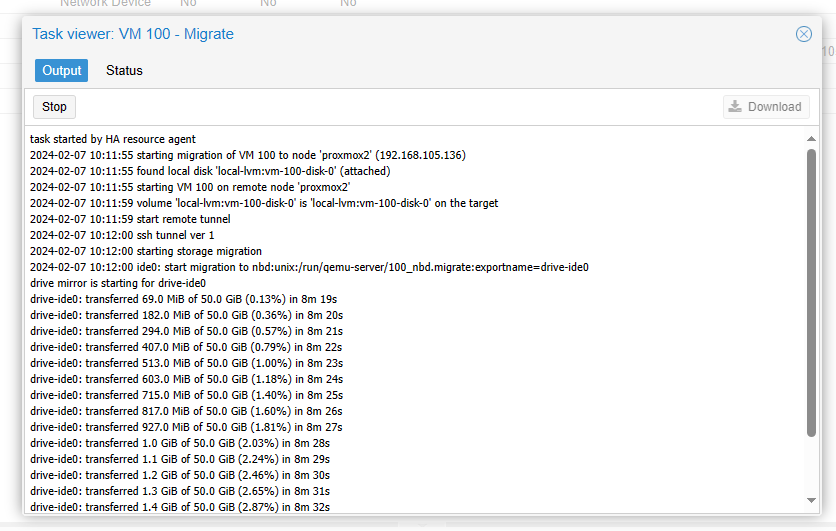
OK. It shows migration start working.
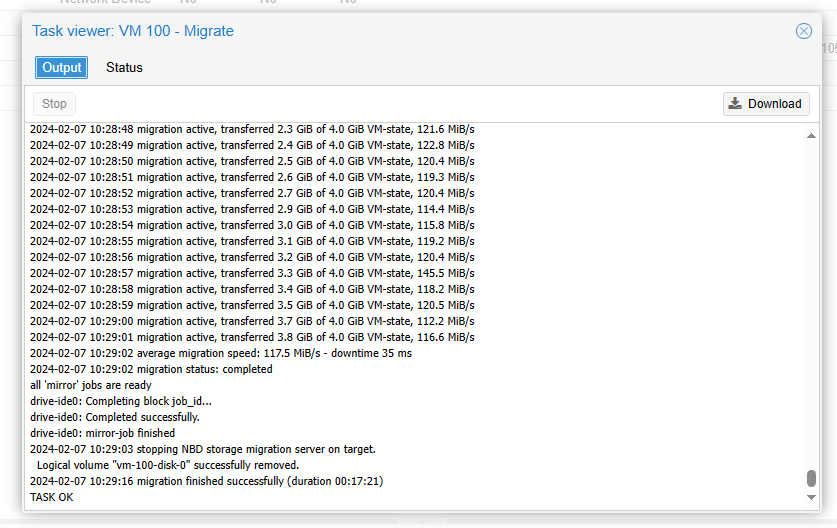
And the process of the migration was displayed clearly in the task output. It took approximately 15 minutes to transfer a 50GB drive to our secondary Proxmox server.
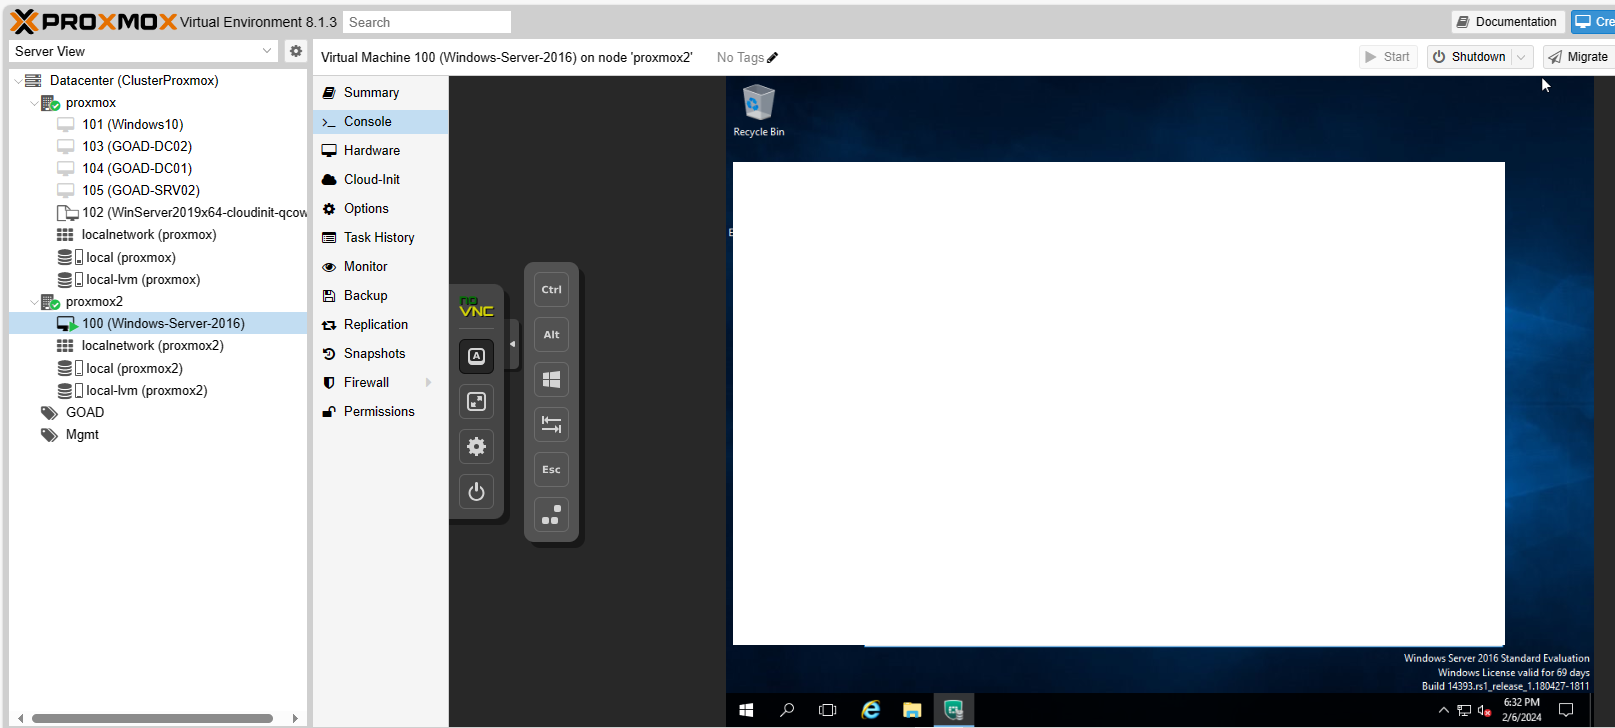
To verify the availibility after moved to new node, I checked the service which was running on the target VM. And it worked fine.
However, it’s not a strict examination tho. Above steps simply tried out migration feature, and it was a great experience. Further inspection like integration or service downtime during the migration will take place. So please wait for next post.
